
Bulbs !!
Some of the kits have one or more bulbs attached to the baseboard. Typically these are 3.5v, 200mA MES bulbs, usually coloured red, but I’ve seen kits with green and yellow bulbs as well.
Replacements are available to purchase and if you’re only after one, then this may be a sensible way to go. However, I’m not sensible when it comes to things like this, so decided to look at making my own.
The 100 in 1 kit I’m restoring should have a red bulb, and it looks like somebody has had a go at creating their own replacement. It’s not a great job.
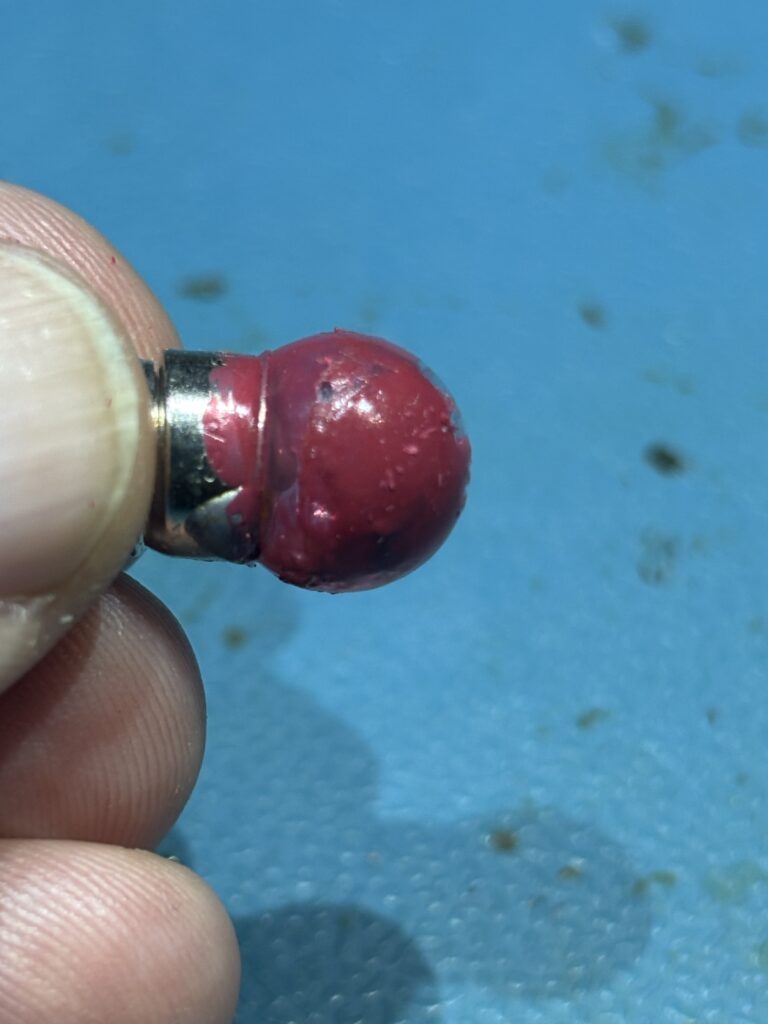
Somebodies attempt to make a red coloured bulb.
Using a utility knife, I scraped off the “stuff” until I had a nice clear shiny bulb. I then dipped it in red glass stain.
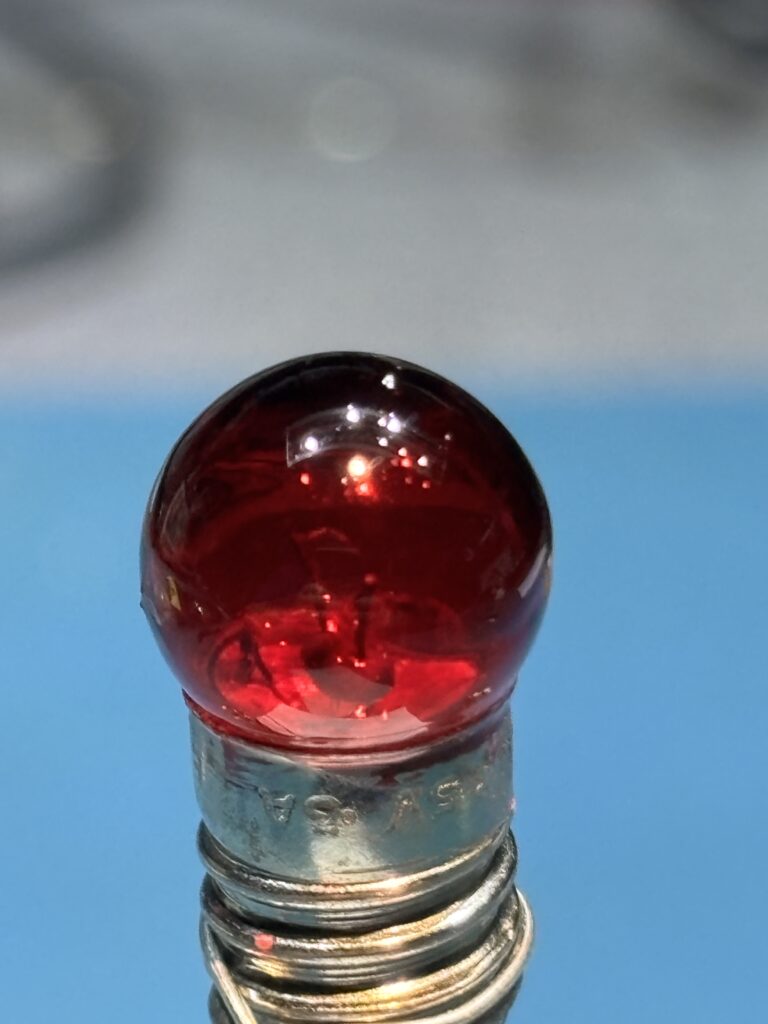
And Ta-Dahhhh.. A nicely red coloured bulb.
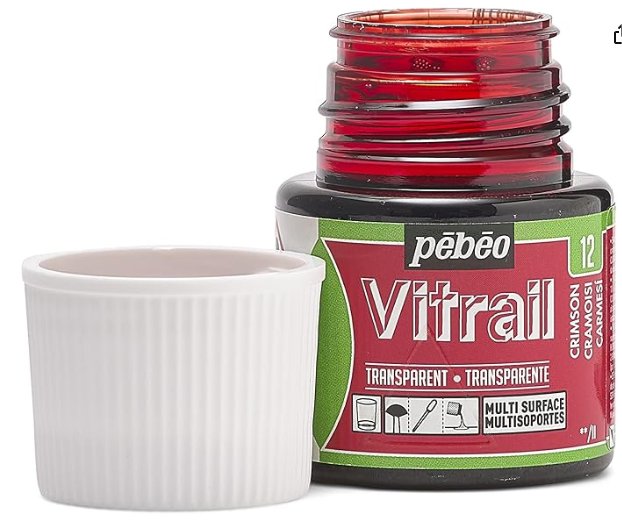
The paint I used was from Amazon, and called “Vitrail Stained Glass Effect Glass Paint, Crimson.” PEBEO 050-012 Vitrail Stained Glass Effect Glass Paint 45-Milliliter Bottle, Crimson : Amazon.co.uk: Home & Kitchen
I wrapped a piece of copper wired around the threaded base of the bulb, carefully “dunked” it in the paint, when I lifted it out you could see the paint collecting in a large drop on the bottom of the bulb, so I just touched the drop to the inside of the paint bottle a couple of times and the drop ran off back into the bottle. I left it suspended over night and found that it had “almost” dried, so I think 48 hours would be best.
If you are just looking for replace a single bulb, this is not the most economical way of doing it as in the UK, a small pot of this paint costs around £10. But, for me, it’s another skill learned and it means I can colour bulbs of all shapes and sizes if I want. I should mention that this paint is available in a plethora of colours, and there are other manufactures of this type of paint, so do your research.
Leave a Reply
You must be logged in to post a comment.